3D Models2026-02-238 min readBack to blog

How We Smoothed Trellis 2 Cannon GLB Artifacts Without Wrecking Topology

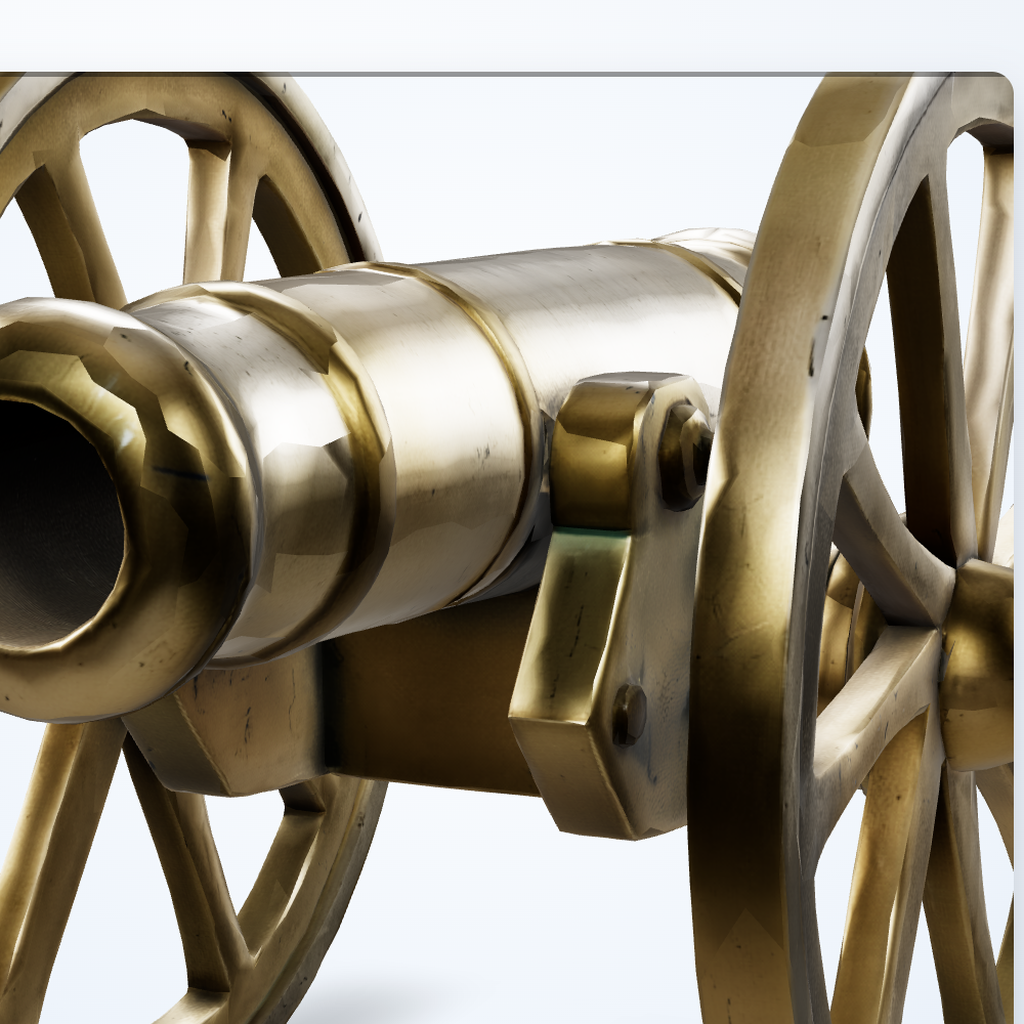
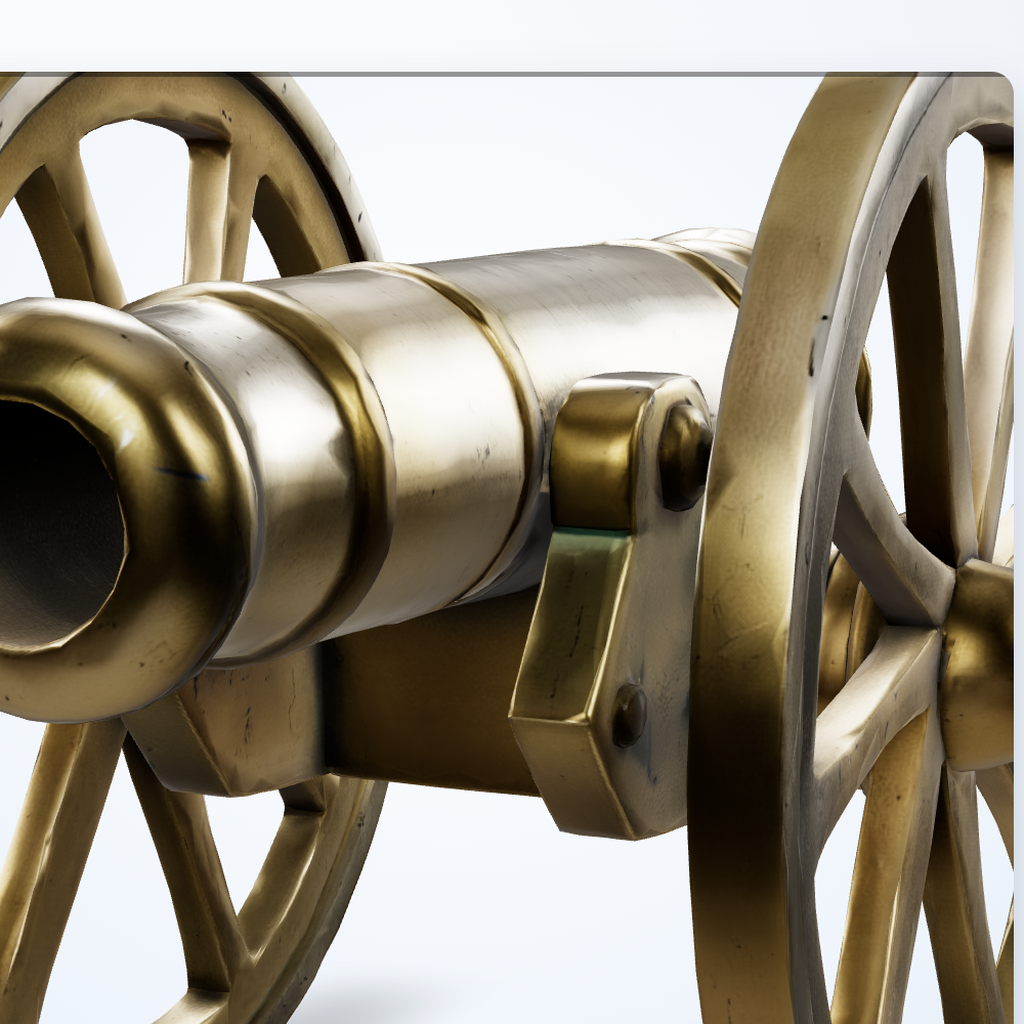
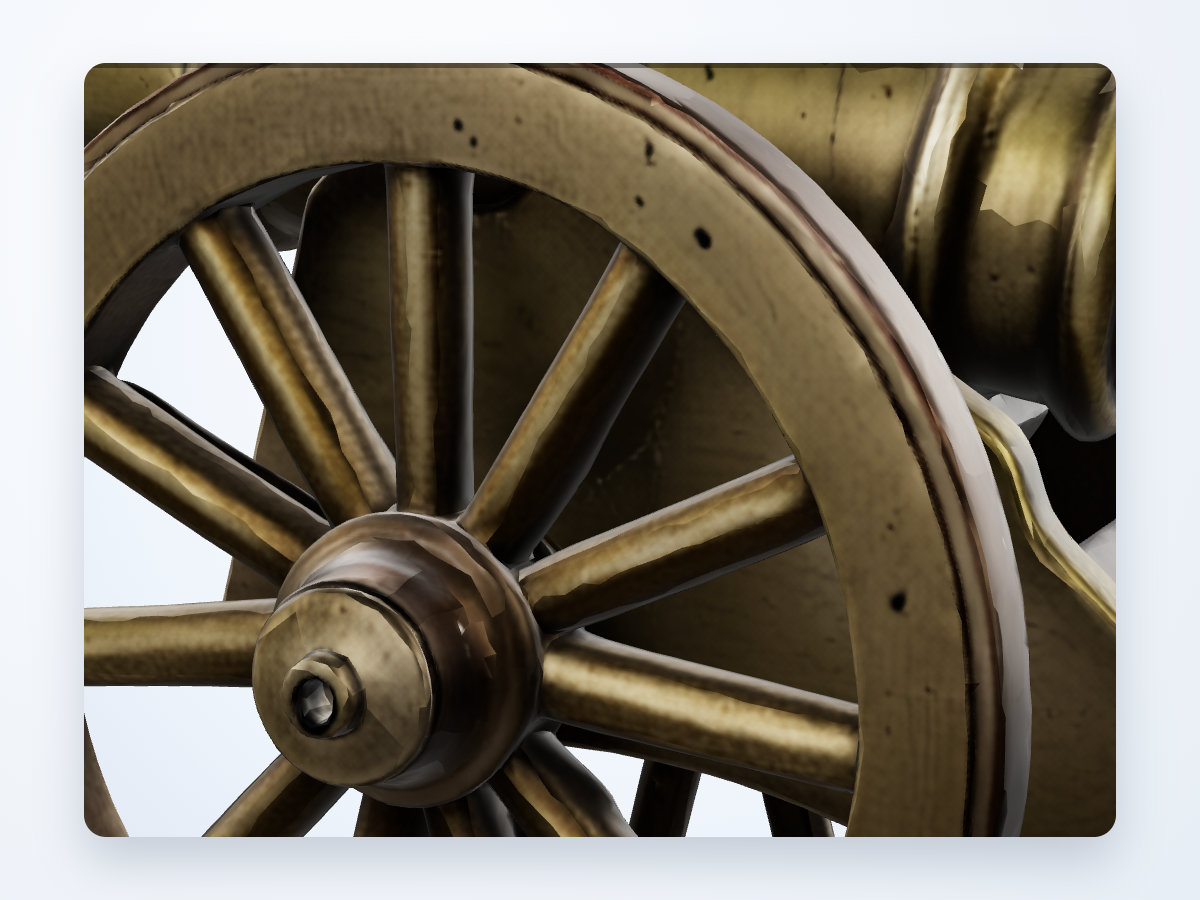
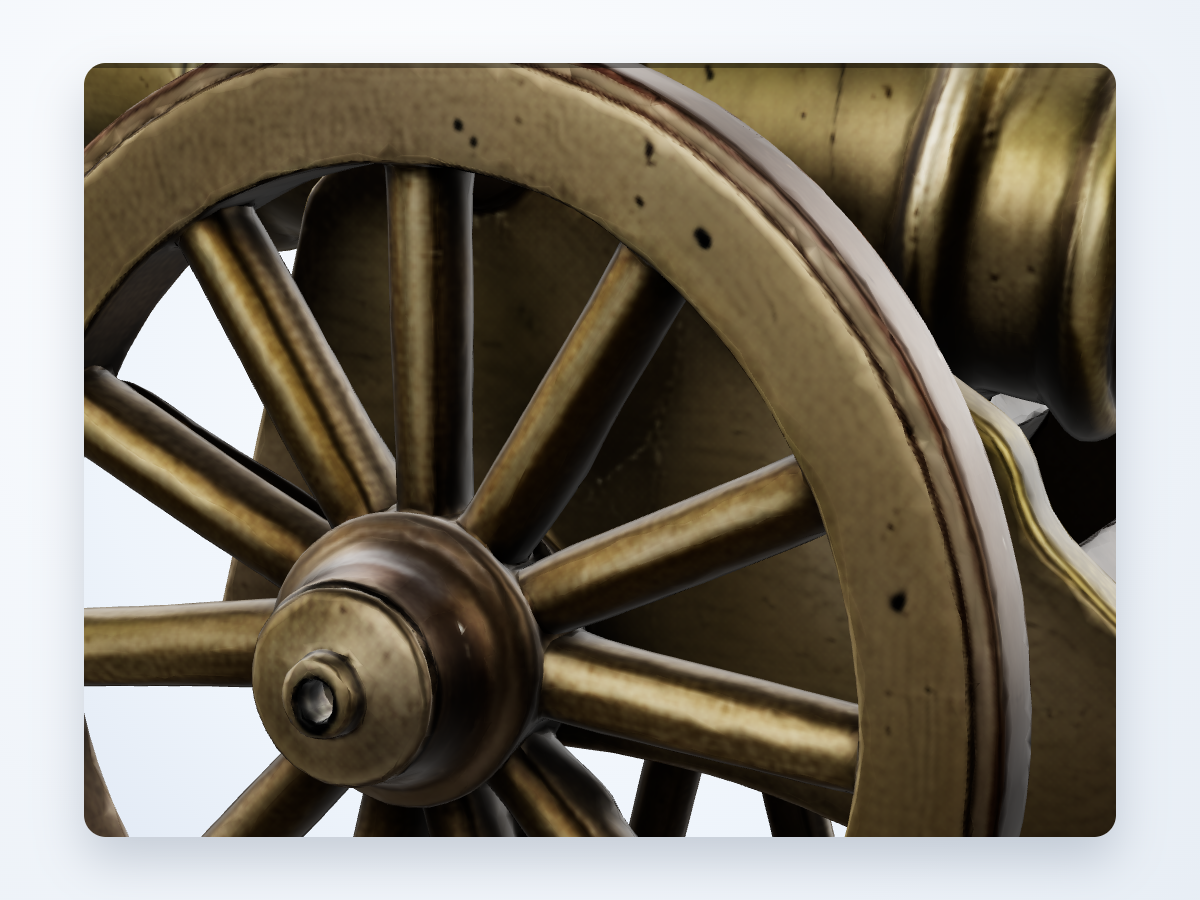
The cannon became our stress test for 3D quality because metallic curves expose shading issues fast. We focused on visible output quality, especially in closeups where rough highlights and seams are most noticeable to end users.

Mascot beside polished cannon model

The core visual issue

In some generated cannon outputs, curved metallic regions looked uneven under light. That made otherwise strong models feel low quality in product shots and portfolio renders, even when the silhouette was good.

Before and after quality comparisons

Barrel highlight banding

Before

Before image with harsh metallic banding on cannon barrel

After

After image with smoother metallic highlights on cannon barrel

Issue: The curved barrel surface showed hard lighting bands that made the metal look faceted instead of smooth.

Improvement: Highlight flow is now much cleaner, so the barrel reads like metal instead of segmented plastic.

Muzzle seam harshness

Before

Before image with visible seam harshness near cannon muzzle

After

After image with reduced seam harshness near cannon muzzle

Issue: The muzzle rings had abrupt shading breaks that became obvious in closeups and dramatic lighting.

Improvement: Close-range shots now hold together better, with fewer distracting seam artifacts.

Cleaner shading in practical use

The updated pipeline prioritizes smoother lighting response on curved surfaces, which makes metallic assets look far more stable in showcase renders and app previews.

How to improve your own results

Use a clear reference image with one dominant subject and readable silhouette.
Prefer neutral or controlled lighting in your reference when surface quality matters.
Avoid heavy occlusion on the object you want reconstructed.
Run quick visual QA from two or three camera angles before shipping assets.
Explore 3D ShowcaseBuy Credits